
Drywall Repair
Drywall, also known as gypsum board or plasterboard, is a staple in modern construction, valued for its affordability, ease of installation, and versatility. However, it’s not impervious to damage. From accidental dents and holes to water damage and cracks, drywall can take a beating over time. Fortunately, repairing drywall is a manageable DIY project for most homeowners with the right tools, materials, and know-how. In this detailed guide, we’ll walk you through the process of drywall repair, covering common types of damage, step-by-step repair techniques, and tips to achieve a professional finish.
Understanding Drywall and Common Issues
Drywall consists of a gypsum core sandwiched between two layers of thick paper. While it’s durable enough for everyday use, its composition makes it susceptible to damage. Here are the most common drywall problems homeowners encounter:
-
Small Holes and Dents: Often caused by doorknobs, furniture, or minor impacts.
-
Large Holes: Resulting from more significant accidents, like a foot through the wall or moving heavy objects.
-
Cracks: Typically due to settling foundations, temperature fluctuations, or structural shifts.
-
Water Damage: Leaks from plumbing or roofs can soften drywall, causing it to crumble or grow mold.
-
Nail Pops: When nails or screws used to secure drywall push through the surface over time.
The good news? Most of these issues can be fixed with basic tools and materials available at any hardware store. Let’s dive into the repair process.
Tools and Materials You’ll Need
Before starting, gather the following:
-
Tools:
-
Utility knife
-
Drywall saw or jab saw
-
Putty knife (various sizes: 4-inch, 6-inch, and 10-inch)
-
Sandpaper or sanding sponge (120-150 grit)
-
Measuring tape
-
Straightedge or T-square
-
Drill or screwdriver
-
Paintbrush and roller (for finishing)
-
-
Materials:
-
Drywall patch or scrap piece of drywall
-
Joint compound (spackle for small repairs, all-purpose compound for larger ones)
-
Drywall tape (paper or mesh)
-
Drywall screws or nails
-
Primer and paint (to match your wall)
-
Backing material (cardboard, wood strips, or wire mesh for large holes)
-
Having everything on hand will streamline the process and prevent interruptions.
Step-by-Step Drywall Repair Techniques
The repair process varies depending on the type and extent of damage. Below, we’ll cover methods for small holes, large holes, cracks, and water-damaged drywall.
1. Repairing Small Holes and Dents (Under 2 Inches)
Small imperfections like nail pops, dents, or minor punctures are the easiest to fix.
-
Step 1: Prepare the Area
-
Clean the damaged spot by removing loose debris or chipped paint with a utility knife or sandpaper.
-
For nail pops, remove the protruding nail or screw and replace it with a drywall screw sunk slightly below the surface.
-
-
Step 2: Apply Joint Compound
-
Use a putty knife to spread a thin layer of spackle or lightweight joint compound over the hole or dent.
-
Smooth it out, feathering the edges to blend with the surrounding wall.
-
-
Step 3: Sand and Repeat
-
Let the compound dry (usually 1-2 hours for spackle, longer for joint compound).
-
Sand lightly with 120-grit sandpaper until smooth.
-
Apply a second thin layer if needed, then sand again once dry.
-
-
Step 4: Finish
-
Wipe away dust with a damp cloth.
-
Prime and paint to match the wall.
-
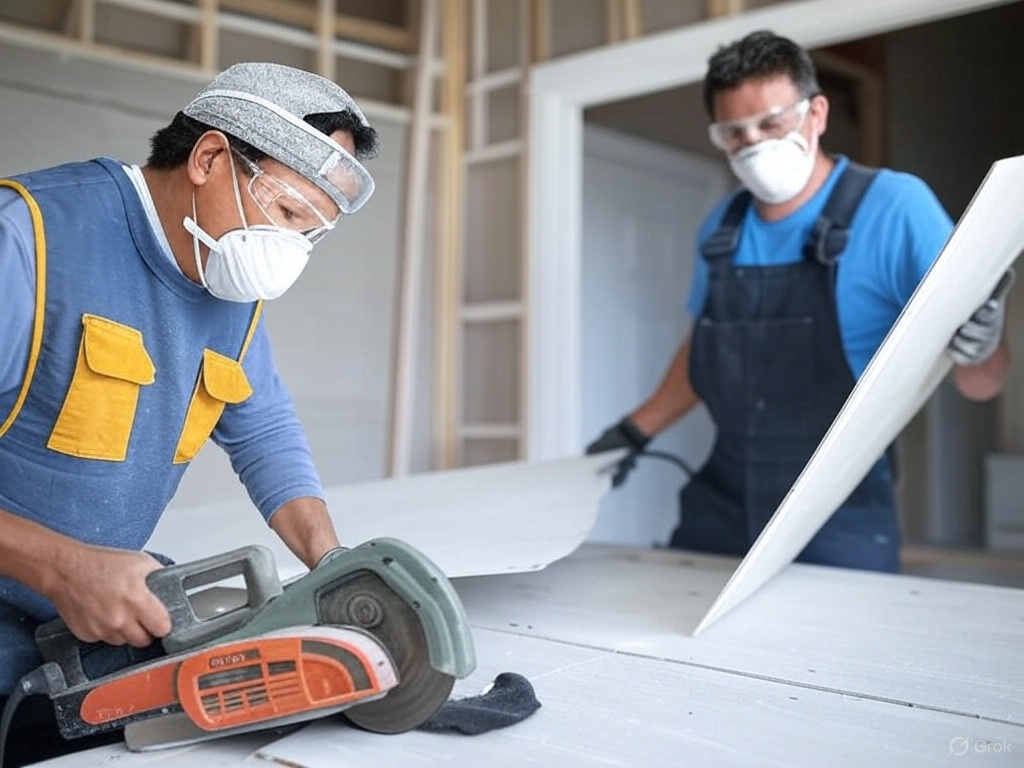
2. Repairing Large Holes (Over 2 Inches)
Larger holes require a patch and more structural support.
-
Step 1: Cut Out the Damage
-
Use a utility knife or drywall saw to cut a clean square or rectangle around the hole, removing all damaged material.
-
Tip: Cutting a regular shape makes patching easier.
-
-
Step 2: Create a Backing
-
Cut a piece of cardboard or thin wood slightly larger than the hole.
-
Thread a string through the center of the backing, insert it into the hole, and pull it snug against the inner side of the drywall. Secure the string temporarily with tape on the outside.
-
Alternatively, screw wood strips inside the wall cavity to frame the hole.
-
-
Step 3: Install the Patch
-
Cut a piece of drywall to fit the hole precisely.
-
Secure the patch to the backing with drywall screws or adhesive, ensuring it’s flush with the wall surface.
-
Remove the string if used.
-
-
Step 4: Tape and Mud
-
Apply drywall tape over the seams where the patch meets the wall.
-
Spread joint compound over the tape and patch with a putty knife, feathering the edges.
-
Let it dry (typically 24 hours), then apply a second and third layer, sanding between coats for a seamless finish.
-
-
Step 5: Finish
-
Sand the final layer smooth, prime, and paint.
-
3. Fixing Cracks
Cracks often appear along seams or corners and may indicate minor settling.
-
Step 1: Assess and Prep
-
Widen the crack slightly with a utility knife to create a V-shaped groove (this helps the compound adhere).
-
Remove loose debris.
-
-
Step 2: Tape and Mud
-
Apply mesh or paper drywall tape over the crack.
-
Spread joint compound over the tape, pressing it into the groove.
-
Smooth and feather the edges.
-
-
Step 3: Sand and Finish
-
Allow drying time between multiple thin layers (2-3 coats).
-
Sand smooth, prime, and paint.
-
4. Addressing Water Damage
Water-damaged drywall often requires replacement rather than repair, especially if mold is present.
-
Step 1: Identify and Fix the Source
-
Stop the leak or moisture issue before proceeding.
-
-
Step 2: Remove Damaged Drywall
-
Cut out the affected area with a drywall saw, extending beyond the visible damage to ensure all compromised material is removed.
-
Check for mold; if present, treat with a mold-killing solution and ensure proper ventilation.
-
-
Step 3: Replace and Finish
-
Install a new drywall piece, following the large-hole repair steps above.
-
Tape, mud, sand, prime, and paint.
-
Tips for a Professional Finish
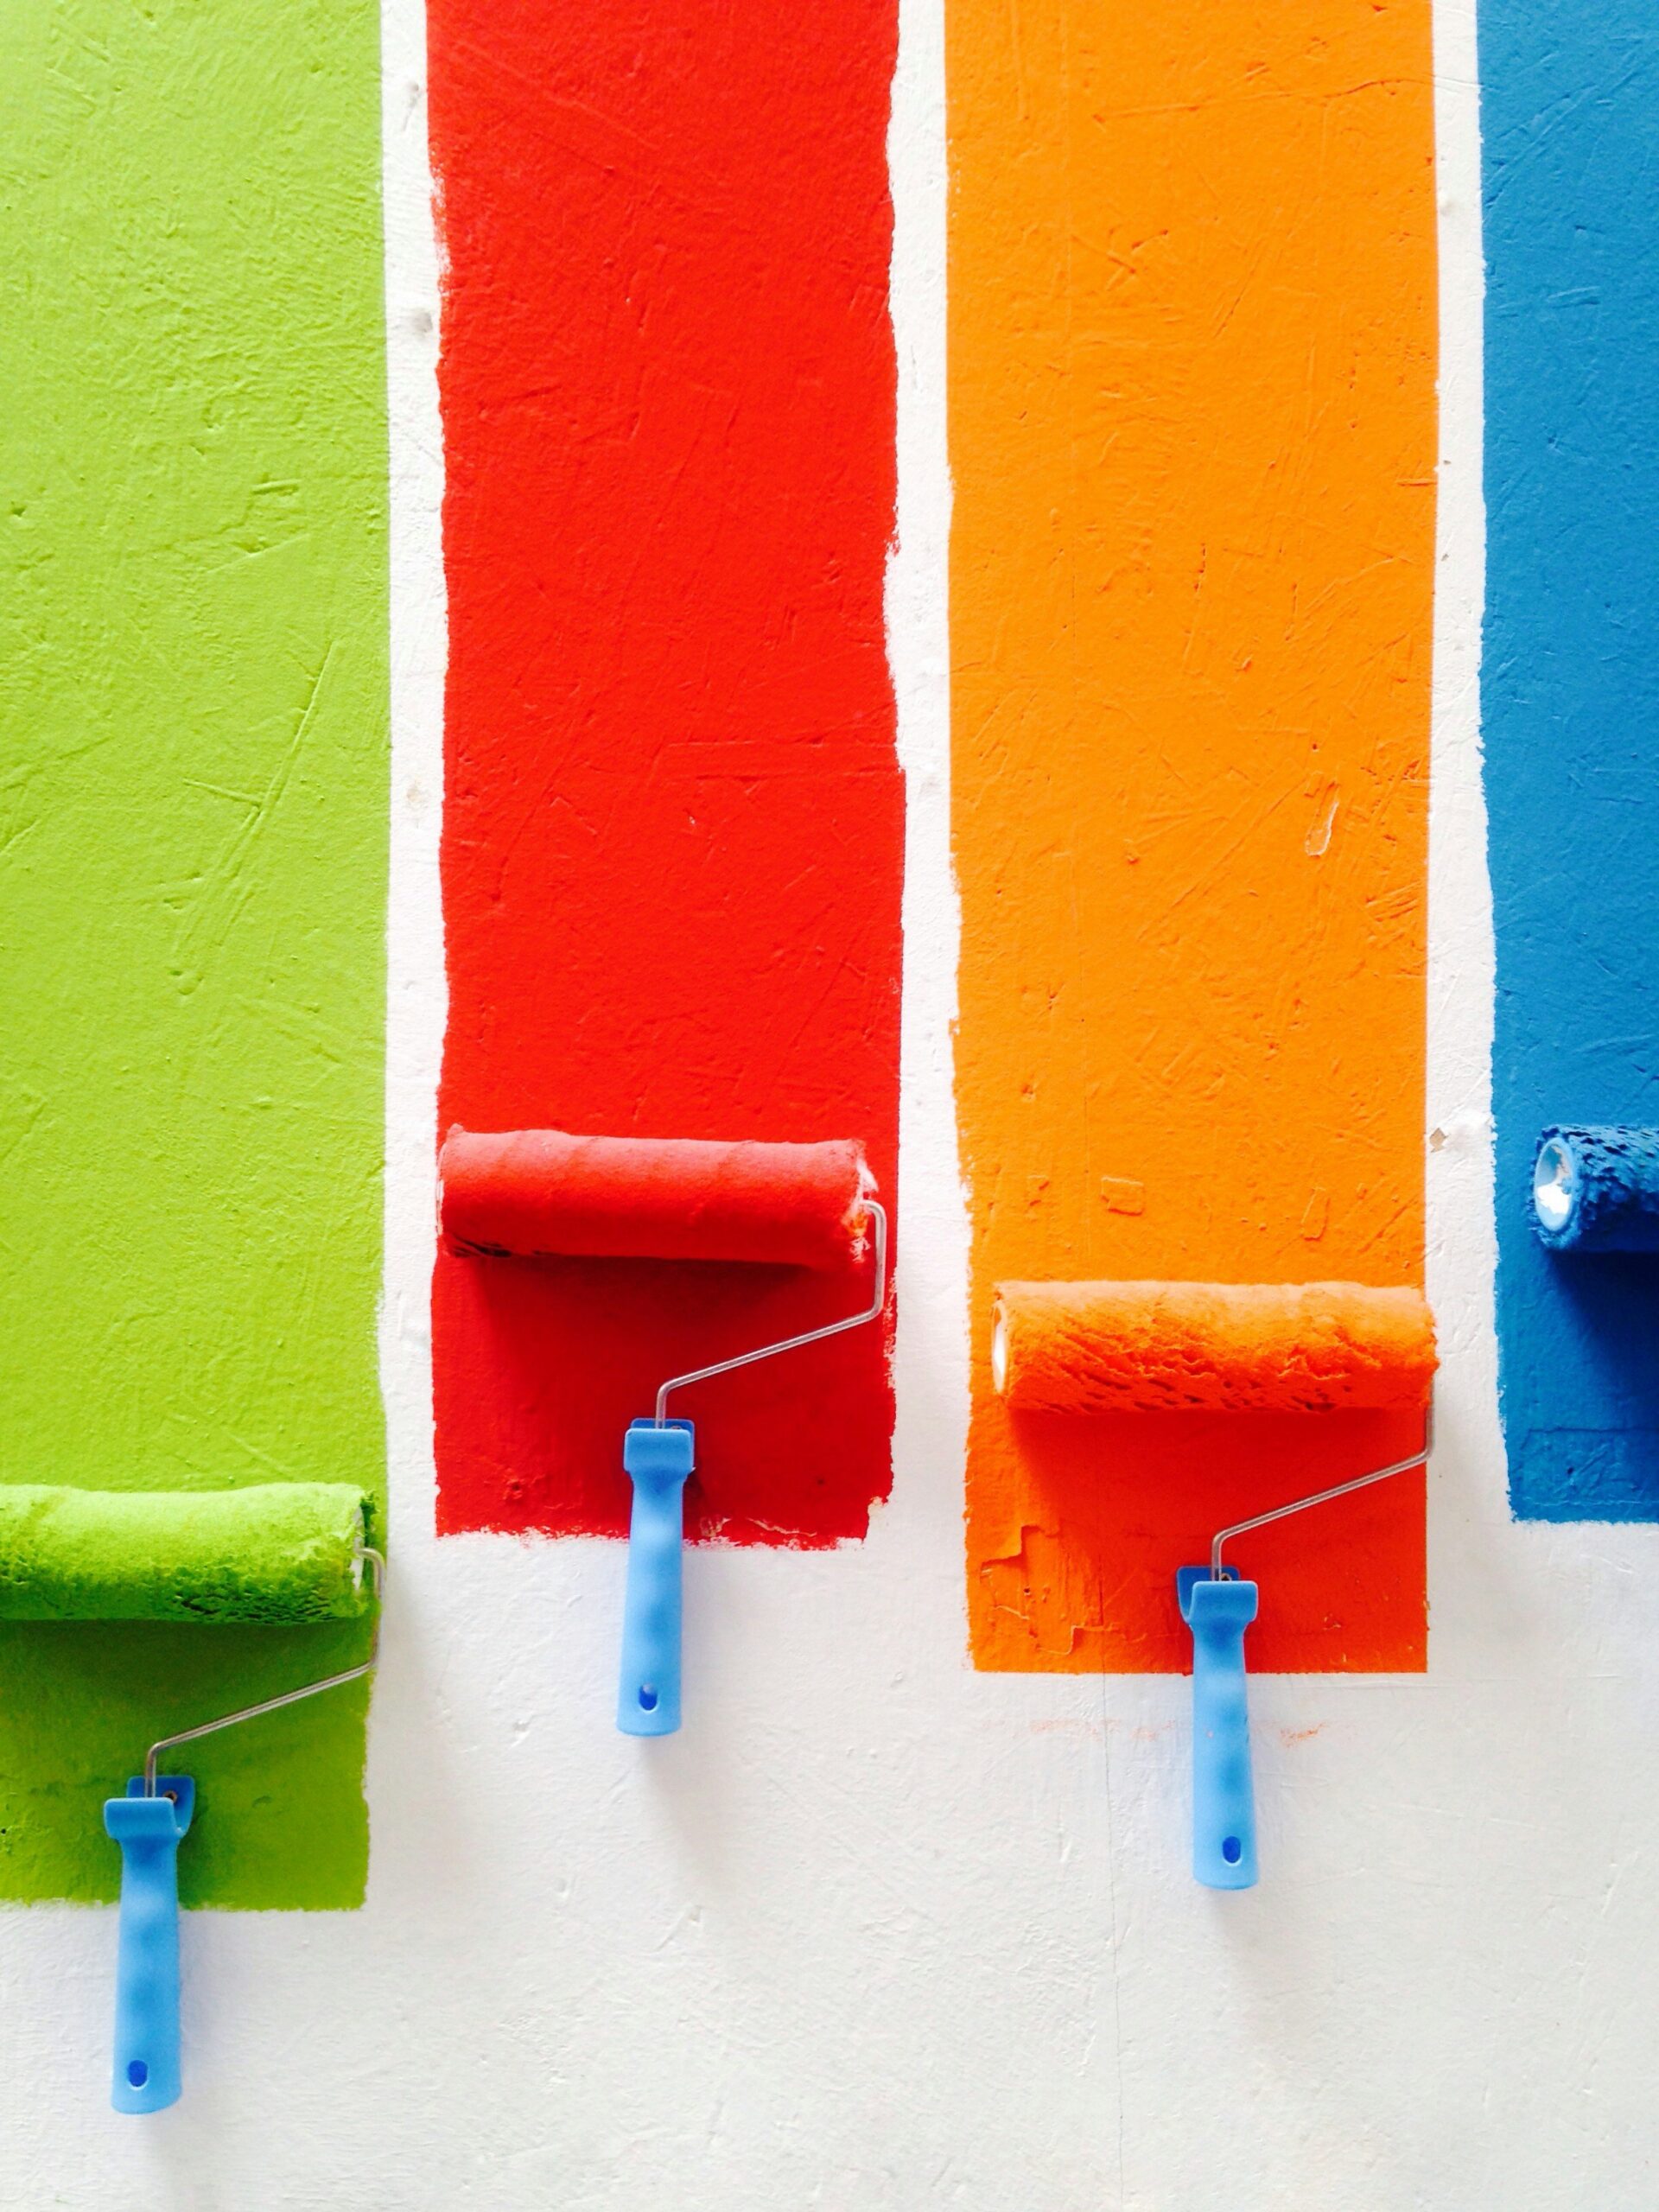
-
Work in Thin Layers: Applying multiple thin coats of joint compound is better than one thick layer—it dries faster and reduces cracking.
-
Feather Edges: Blend the compound into the surrounding wall to avoid noticeable ridges.
-
Match Texture: If your wall has a texture (e.g., orange peel or knockdown), replicate it using a texture spray or sponge before painting.
-
Lighting Matters: Use a work light at an angle to spot imperfections while sanding.
-
Patience Pays Off: Rushing drying times can lead to cracks or poor adhesion.
When to Call a Professional
While most drywall repairs are DIY-friendly, some situations warrant expert help:
-
Extensive water damage with structural concerns or widespread mold.
-
Large-scale repairs spanning multiple rooms.
-
Complex textures that are hard to replicate.
Conclusion
Drywall repair is a practical skill that can save you money and keep your home looking its best. Whether you’re patching a small dent or replacing a water-damaged section, the key is preparation, patience, and attention to detail. With practice, you can achieve results that rival a professional’s work—all while wielding a putty knife and a can-do attitude. So, the next time your wall takes a hit, don’t despair; grab your tools and tackle the repair with confidence!